Looms & Weaving
Teacher: Joy Danila
Grade Level: 3rd & 4th grades
Time Needed: Aprx 5, 40 min classes
NCAS Standards:
- VA:Cn10.4a
Anchor Standard: Synthesize and relate knowledge and personal experiences to make art.
Performance Indicators: Create works of artr that reflect community cultural traditions.
- VA:Cr2.1.3a
Anchor Standard: Organize and develop artistic ideas and work.
Performance Indicators: Create personally satisfying artwork using a variety of artistic processes and materials.
Project Summary and Rationale:
Students investigate traditional weaving patterns, practices and techniques including extensively diverse cultural and geographic styles.
Students create woven wall art, to be displayed in the school demonstrating fiber-art, color theory, patterns, and traditional weaving techniques – with a modern twist!
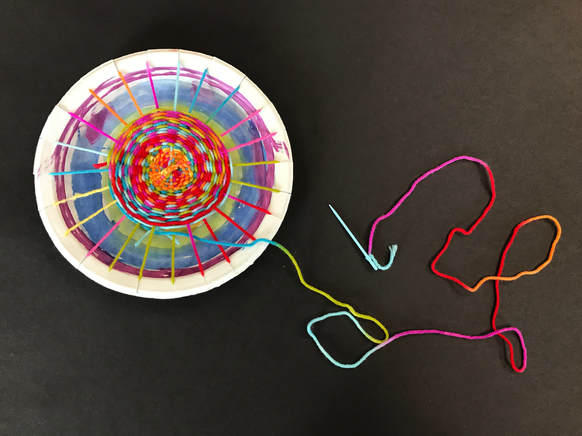
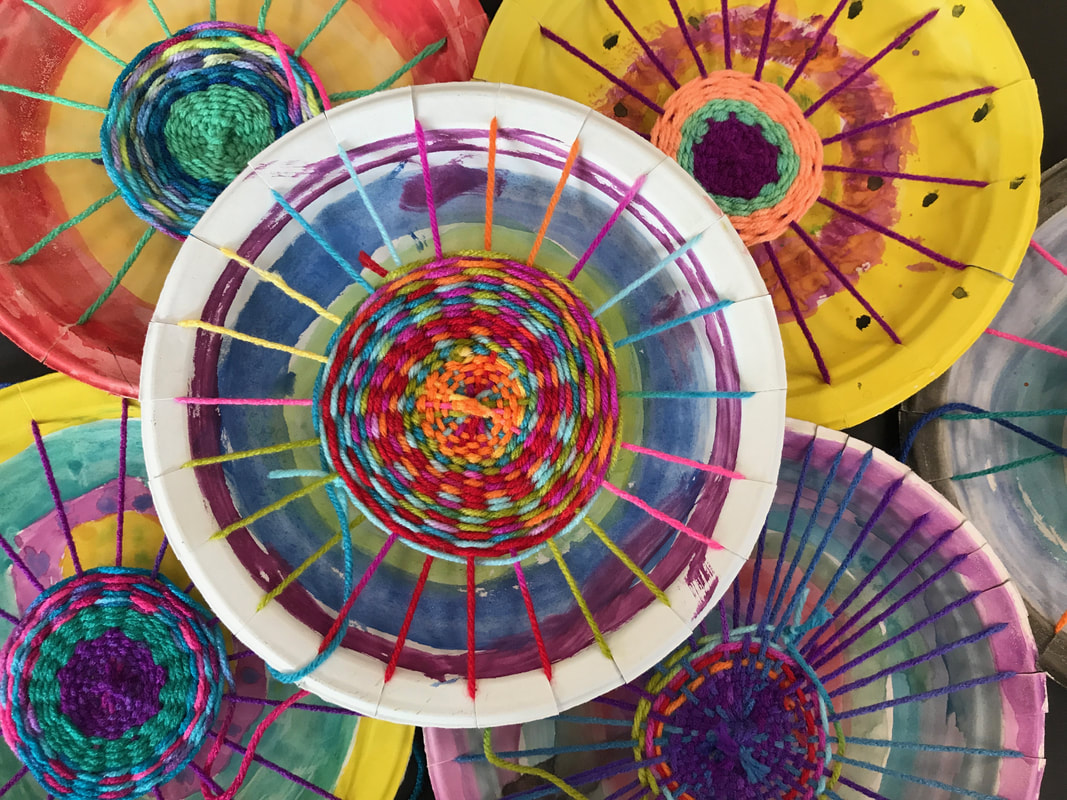
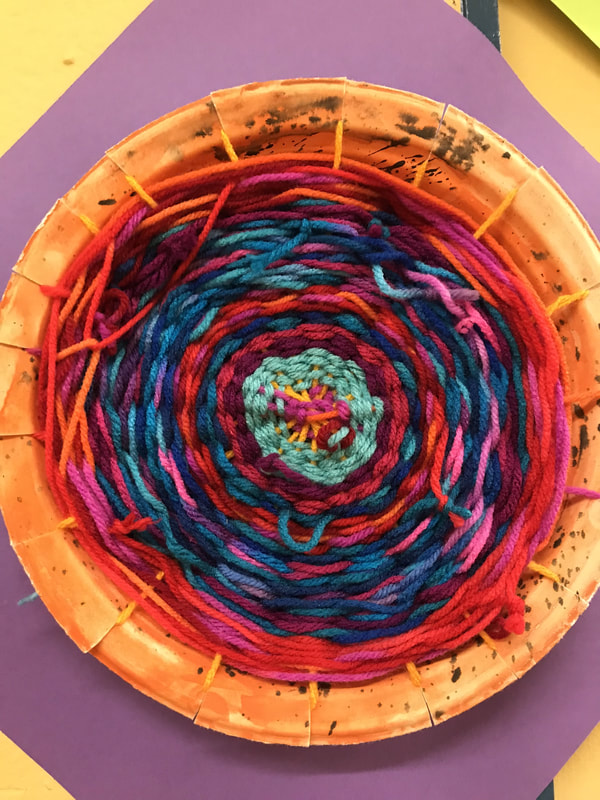
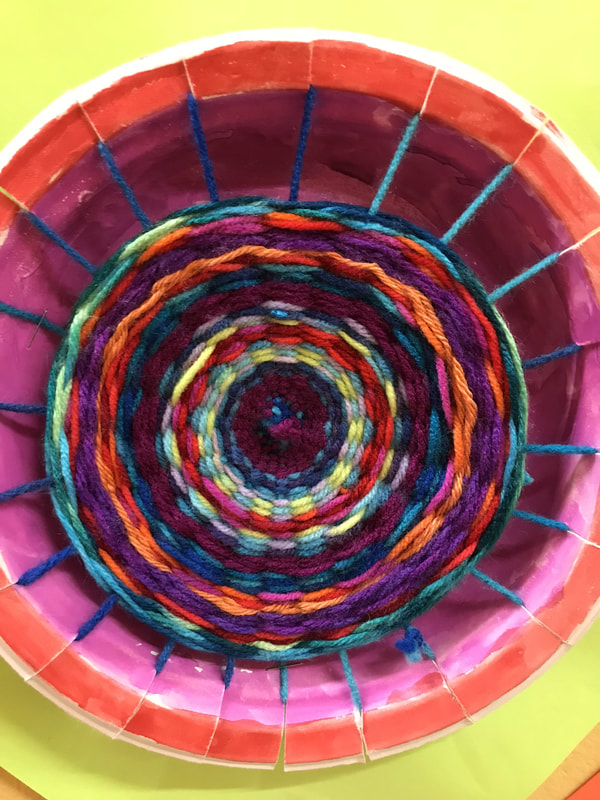
Students create their individual looms from a paper plate, painting them using warm and cool colors and patterns, then cutting ridges along the edge. With yarn, students set the loom and begin weaving in an “over” and “under” weaving pattern – creating a spiral pattern out to the edge of the plate.
Fine motor skills used in weaving serve to improve dexterity and hand to eye coordination. More advanced skills such as knot tying and needle threading may require adult assistance.
Students expand their ability to concentrate and focus as they construct this woven product, learning color theory as they paint the plate (loom) and choose alternating colors of yarn. Creation of the artwork is engaging and stress relieving – one student commented, “Weaving is fun! It relaxes my brain!” and another student commented about how soft and fluffy the weavings felt under her fingers.
Enduring Understandings
- Color Theory
- Through art-making, people make meaning by investigating and developing awareness of perception, knowledge, and experiences.
- Artists and designers experiment with forms, structures, materials, concepts, media, and art-making approaches.
- Traditional weaving patterns vary from culture to culture.
- Art can be fun and relaxing when you get into the “flow” or a meditative “zone”.
- How does engaging in creating art enrich people’s lives?
- How does making art attune people to their surroundings?
- How do artists work?
- How do artists and designers learn from trial and error?
- Traditional weaving patterns vary from culture to culture.
- It can be fun and relaxing to create, especially once you get into the “zone” and weave with repeated patterns.
Knowledge Objectives/Learning Targets-
Students will know:
- Warm and cool colors
- What a loom is
Skills Objectives/Learning Targets
Students will be able to:
- Construct a loom for their own weaving project
- “Set” their own loom to prepare for weaving by crisscrossing yarn warps
- Weave weft in “over and under” stitch pattern
- Identify mistaken stitches
Materials: Paper plates, paint brushes, watercolor, scissors, yarn in a wide variety of colors, masking tape
Resources:
https://www.skillshare.com/classes/Create-Your-Own-Fiber-Art-An-Introduction-to-Weaving/1029237884
https://www.youtube.com/watch?v=26y73FuFuJ8
Dixon, A. (2007). The Handweaver's Pattern Directory. Ft. Collins, CO: Interweave.
Willink, R. S., Zolbrod, P. G., Vavruska, J., & Clark, B. (2001). Weaving a world: textiles and the Navajo way of seeing. Santa Fe: Museum of New Mexico Press.
Vocabulary: Loom, setting a loom, weaving, threading a needle, tying off, warp and weft.
Motivation:
- Introduction: A brief introduction of lesson explaining the criteria of lesson.
- Visual Examples: Samples of work at various stage of completion are shown. Cultural examples on slideshow demonstrate traditional and modern weaving methods and uses.
- Inquiry Based Questions: Where do we see weaving? What do we see in woven rugs, clothes, and blankets? What do you notice about the colors, patterns, and textures?
- Demonstration: A demonstration of proper techniques in creating the loom, setting the loom, and weaving on the loom confirms what to do at each stage of the project.
Lesson Sequence:
Introduction of the lesson: Introduce the lesson through visual techniques as well as showing a slideshow of images from diverse cultural backgrounds (such as Navajo rugs, Jewish prayer shawls, Mexican blankets and Swedish weavings, among others). Remind students to write names on the back of their loom.
Implementation of the lesson: Ask motivational questions and use Visual Thinking Strategies to engage students with traditional weaving practices. Demonstrate proper techniques for making our own loom and how to create the work. Work with students to tie new yarn onto weaving and thread needles if they are unable to do so themselves.
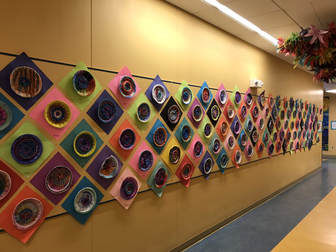
Closure of the Lesson: Facilitate tying off yarn to end the weaving and mount plate “looms” on large colorful cardboard matting. Mount in hallway of school on large bulletin board with description of project and grade level.
Differentiated Strategies:
- Present instruction/resources verbally and visually.
- Modify tools and materials for use by students with injuries or disabilities.
- Student A struggled to hold the loom and weave at the same time; we used duct tape to secure their paper plate loom to the table, accommodating a cast on her non-dominant arm/hand.
- Student B struggled with the plastic needle for weaving, so we taped masking tape around the end of the yarn and this helped their dexterity challenges.
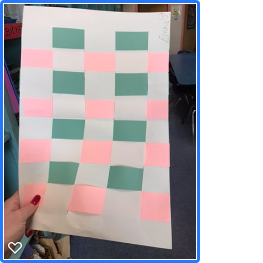
- Student C was unable to work with the yarn, because of tactile issues as well as her dexterity and fine motor skills. For this student, weaving strips pf paper into a paper loom (shown below) worked much better. This allowed her to weave with her classmates, within her abilities, and to meet some of her own personal learning targets (cutting paper and working more independently without as much direct support from her aide). Previously her aide had been “doing” some of the tasks for the student. See image here for what her project was...
- Provide various means through which students with disabilities can communicate their ideas or questions.
- Adjust timelines to provide additional time for students with disabilities to complete work.
- Encourage students with high ability to modify or interpret outcomes to capture greater levels of complexity or sophistication in interpretations of ideas or topics.
- Provide varying means through which students can express what they have learned.
- Encourage students to explore various subtopics of a larger topic or issue.
- Identify student readiness and learning differences and modify instruction to meet varying needs of students.
- Have student work in group with defined jobs, allowing for writing and verbal abilities to share thoughts/opinions.
Assessment:
Formative: Use direct observation and questioning (Which steps do you use to set the loom?; which yarn is warp and which is weft?; how do you untangle a mistake?; how do we end the weaving?); utilize classroom discussion with Visual Thinking Strategies; one to one check-ins with student and teacher; peer to peer assistance. Teacher will approve each stage before students progress to next phase (i.e., creating the loom, “setting the loom”, beginning to weave, tying on new strings of yarn, completion of weaving); observe class participation and engagement; show student progress - share each weaving with the class at the beginning of each block, as weaving projects are passed out.
Summative: Students will be graded based on rubric that covers each part of the assignment, and on participation and effort as well as safe use of supplies and tools.
Post implementation: I noticed misconceptions and confusion with setting the loom. I might adjust the teaching so we all set the looms together as a class, step by step, rather than offering this step at the beginning via a demonstration.
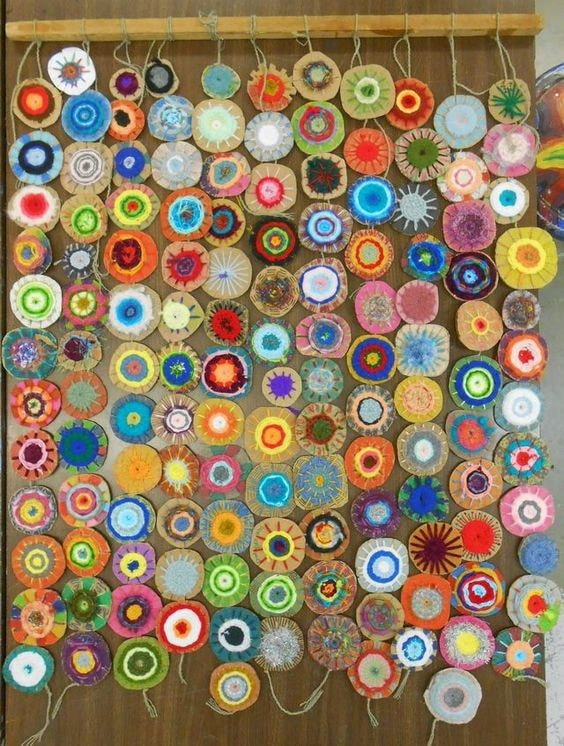
Additionally, I have since found a Pinterest posting with a similar lesson, wherein the students use round flat cardboard circles (pizza flats) rather than a plate, which allows for a gorgeous display, highlighting the weavings as a cohesive (all tied together) woven, hanging artwork. This would look amazing in the cafeteria!
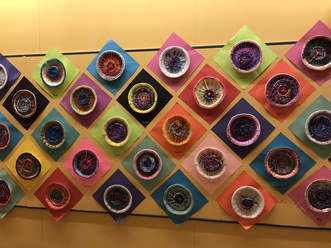
Here is how I displayed this lesson (done on plates and mounted on construction paper):
I later saw the lesson (done on pizza flats) and displayed hanging, on Pinterest. I may try this next time:
